Editor’s note: This guest blog post is written by Jenny Corteza. Jenny Corteza was shopping for a double vanity unit for her house and was surprised at all the different options available. When not fixing up her home, she’s writing articles about food!
 Photo by: Bill Holsinger-Robinson
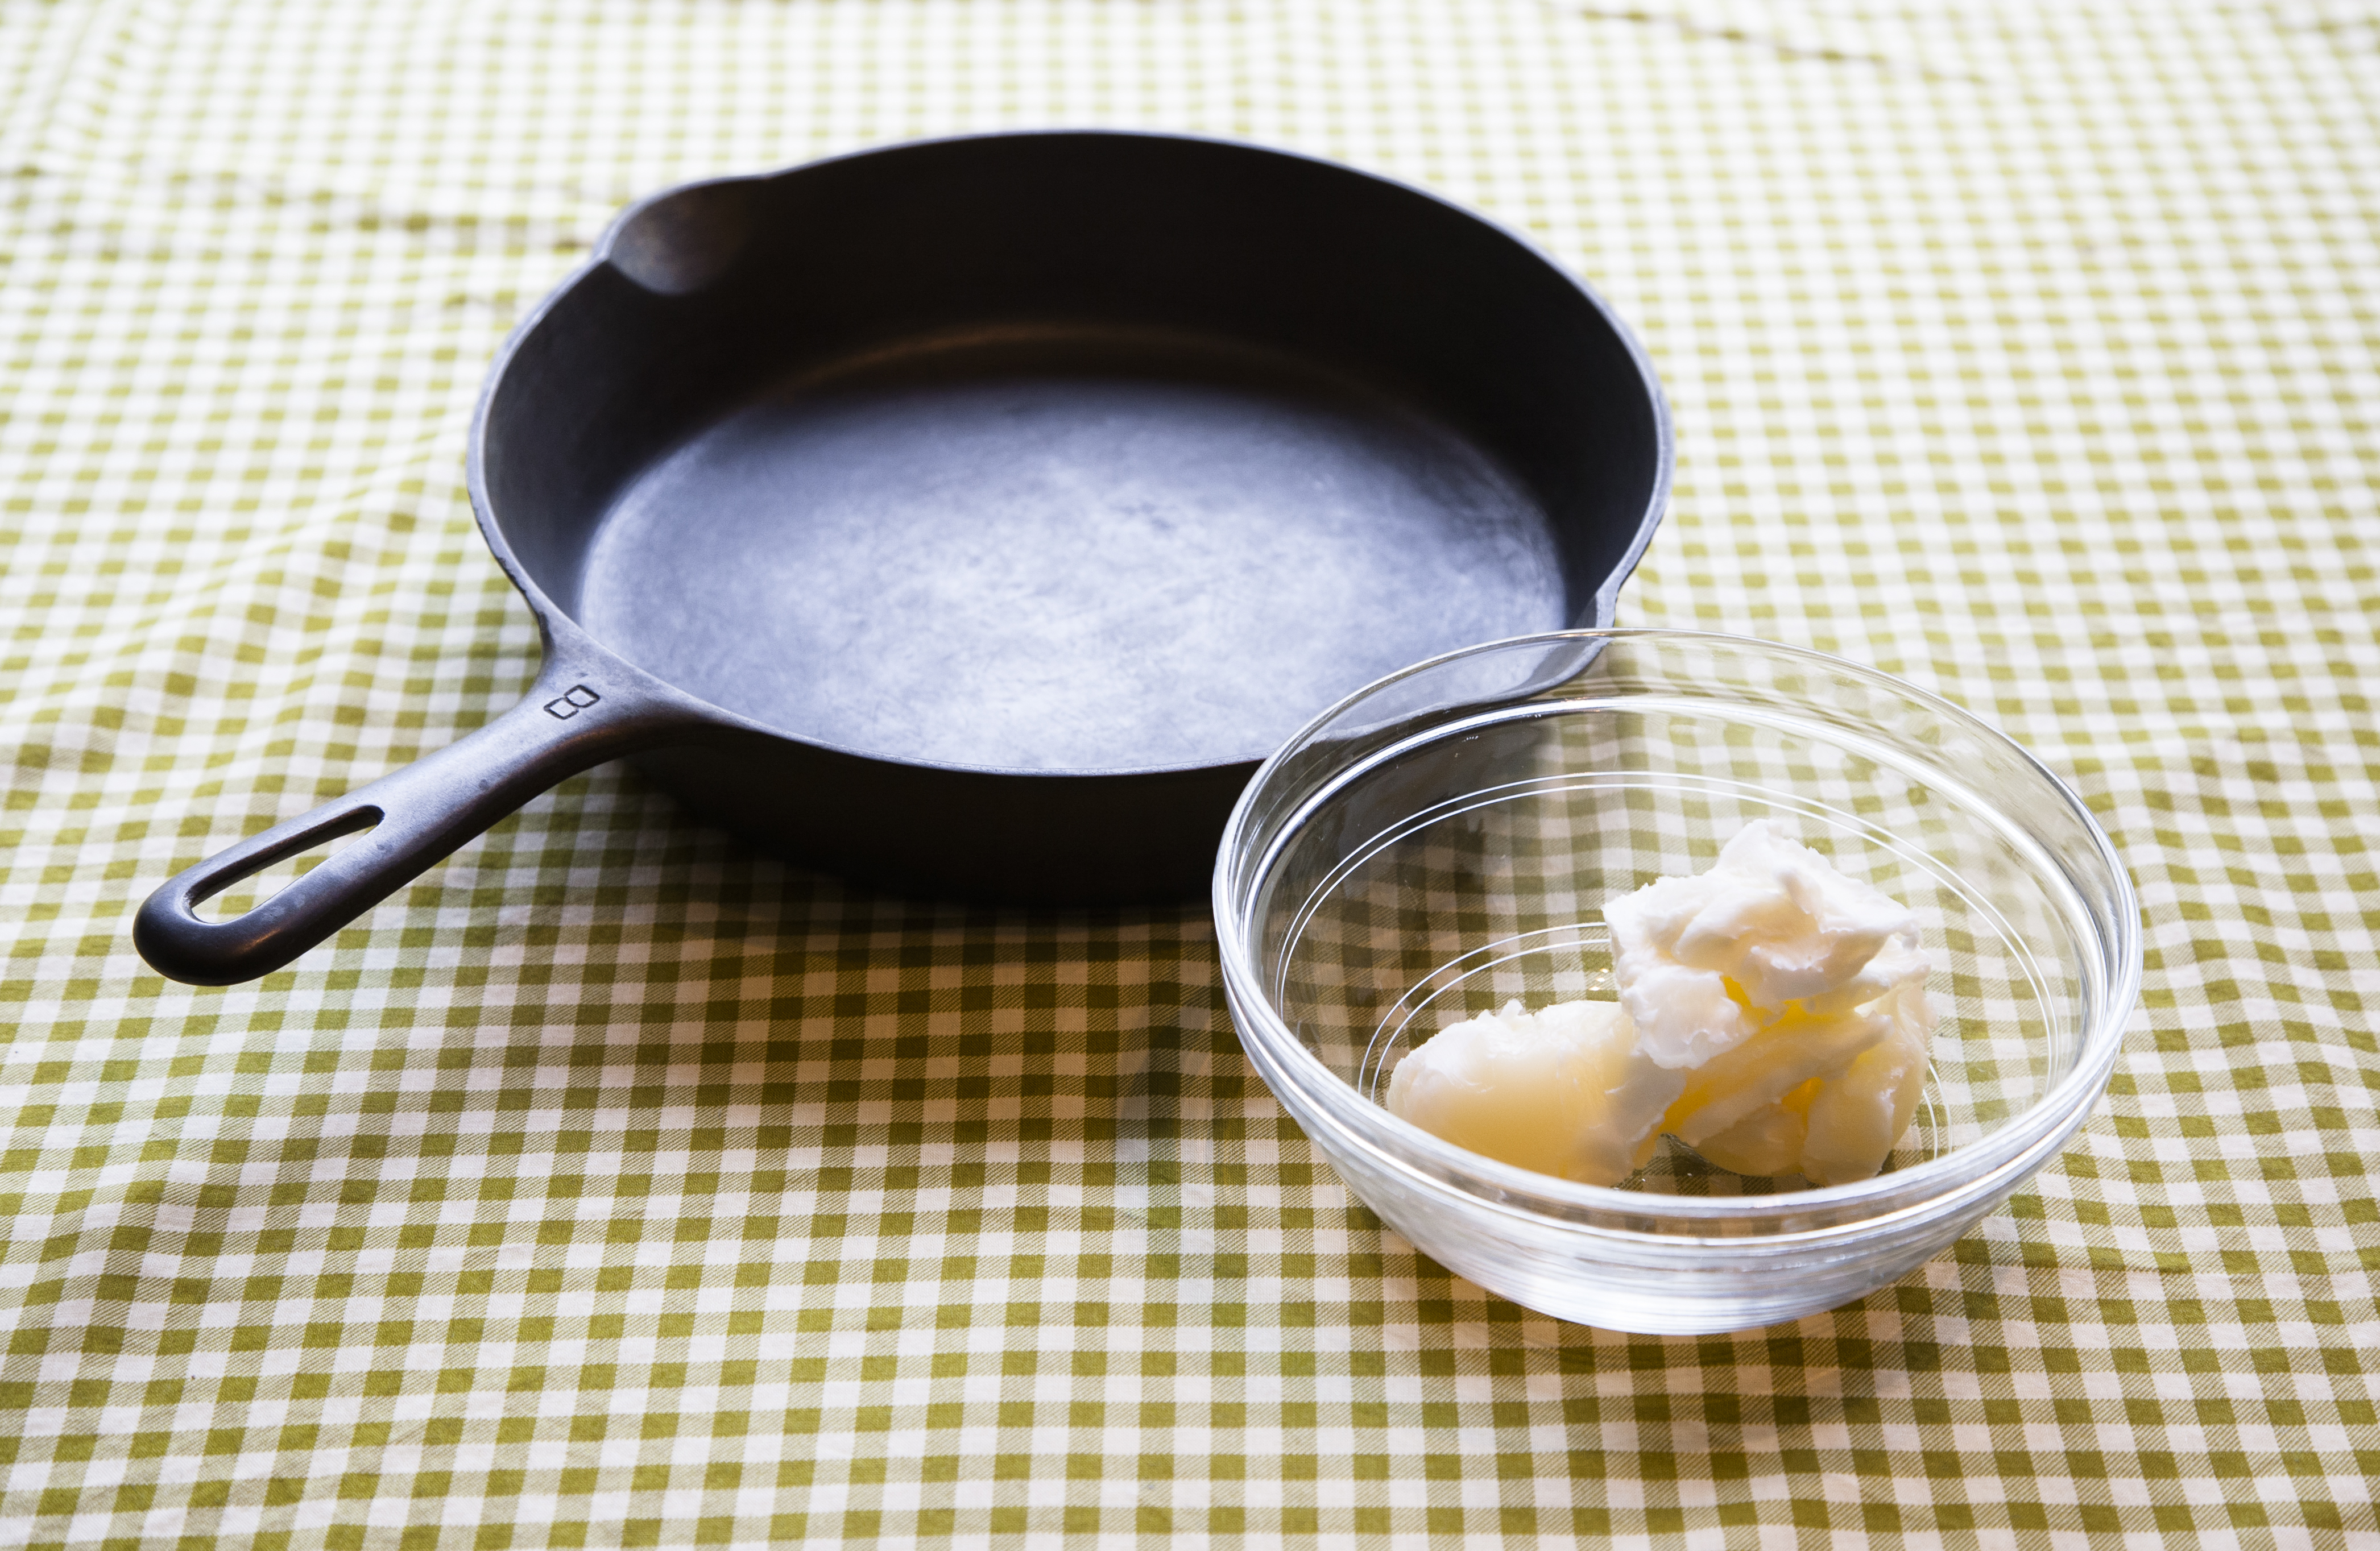
Sophia Petrillo of the Golden Girls once told her daughter Dorothy that her secret to great marinara sauce was singing to it. While it’s worth a try to sing to your marinara sauce, there are other ways to create a zesty, delicious marinara sauce that is sure to give your family something to sing about.
1. Picking tomatoes
Fresh is always best, but when it comes to marinara sauce unless you’re picking them off the vine it may be better to use a canned or jarred tomato. Canned San Marzano and Cento Passata in glass jars are highly recommended brands of store-bought tomatoes to use for marinara sauce. Canned San Marzano and Center Passante tomatoes are picked at peak season from the volcanic soil where they grow in the Campania region of Italy.
Canned San Marzano are the most ubiquitous tomatoes to find at local supermarkets. It is best to use pureed tomatoes. The lower the acidic rate of the tomato, the better. If you have a highly acidic tomato, try adding sugar to the mix to lower the acidity, if you’re watching your sugar consumption, grated carrots can also help lower acidity.
2. Be sure to Puree
Pureed tomatoes help make the best marinara sauce. Pureeing helps bring out the deep flavor of the tomato and grinds up the seed. If you end up buying whole canned tanned tomatoes are use fresh tomatoes be sure to puree first.
3. Spice it up!
Again, fresh is always best. Chopping up fresh basil and garlic really helps to bring out the flavor. It’s best to choose freshly chopped spices over pre-packaged spices. The best marinara have very few ingredients and the very freshest ingredients.
4. Choose the best ingredients.
In order to make a great marinara, you may include the following ingredients” chopped onion, pepper, oregano, thyme, basil leaves. You may already have many of these ingredients in your pantry. Try growing your own basil leaves, to have fresh basil for all of your Italian dishes, or to make a refreshing mojito after you’ve created the best homemade marinara sauce!
Ingredients for Marinara sauce:
- 2 tablespoons extra virgin olive oil
- 1/4 cup chopped onion
- 1/2 teaspoon sea salt
- Fresh ground pepper (sprinkle to taste)
- 1 28-ounce can of San Marzano tomatoes or
- 1 teaspoon oregano
- 1 teaspoon dried thyme
- Fresh basil leaves
Directions:
In a large pot heat olive oil, onions, sea salt and pepper. Sauté these ingredients over low heat until the onions are soft and clear. Add tomatoes, and mix with sautéed ingredients. Be sure to mash the tomatoes, much like mashing potatoes. Lastly, add the herbs. Simmer all the ingredients, uncovered, for at least 30 minutes or until the sauce has thickened. If you’d like to make extra marinara, this recipe is easily stored in the freezer and will remain fresh for up to one year.
Be sure to sing to it a little too, it never hurts!